Zend Framework Tool Usage With Command Line Tool Support

Zend Framework has a powerful command line tool, and it can be used inside PhpStorm by Command Line Tool Support.
Let’s pass through a simple Zend Framework tutorial. You’ll need having PhpStorm 2.0 and Zend Framework installed on your computer.
First we have to add Zend Framework commands to the tool.
Loading Zend Framework Commands
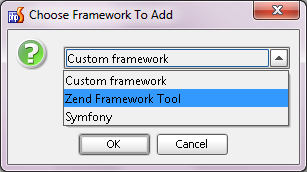
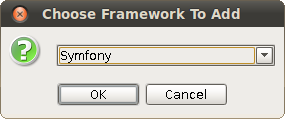
Choose Settings | Command Line Tool Support and press the “Add” button. Three options are offered. Choose “Zend Framework Tool”:
Then provide the path to its $Zend_Framework_Tool_home$/bin/zf.bat file. The description of Zend Framework Tool commands is loaded and saved in a file inside your project settings. In the Settings dialog box, the description looks as follows:

- The Tool Path field contains the common part of all framework commands. These common parts are “php $path_to_symfony$ “ in Symfony or “$Zend_Framework_Tool_home$/bin/zf.bat” in Zend Framework Tool.
- A common Tool Path can be annoyingly long, so we provide an Alias, which is a string to be used instead of the full Tool Path.
- By selecting or clearing the “Enable” checkbox, you can easily have framework commands included or excluded from tool’s auto completion without deleting the description file.
Now the Enable checkbox is selected, so Zend Framework Tool commands are provided in auto completion. Press Ctrl +Shift+X or choose Tools | Run Command… and type:

Using Zend Framework Tool Command Line
Now we’ll create a simple Zend Framework project as it is described in Zend ’s “Quick start” document.
Creating a Zend Project
Press Ctrl +Shift+X and type “zf create project”:
The command has three parameters:
- Required “path”. We set it to macro $ProjectFileDir$, which stands for the path to the PhpStorm project.
- Optional “name-of-profile” and “file-of-profile”.
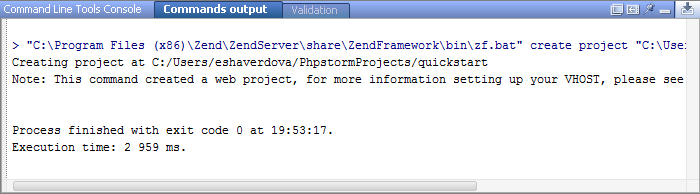
Before the command execution, the framework alias “zf” will be changed to Invoke Path. In our case, it is “C:/Program Files (x86)/Zend/ZendServer/share/ZendFramework/bin/zf.bat”.
Project files are created:
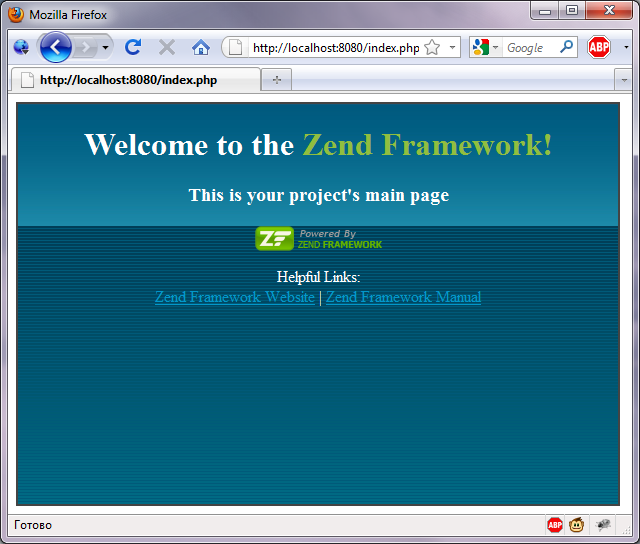
After some server configuration welcome page of the project can be seen:
Creating a Layout
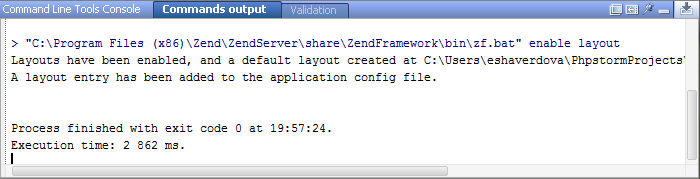
Now create layout:
![]()
Check output:
Then do some additional configuration and check “ZF Quickstart Application” header appeared over the welcome page.
Creating a Model and Database Table
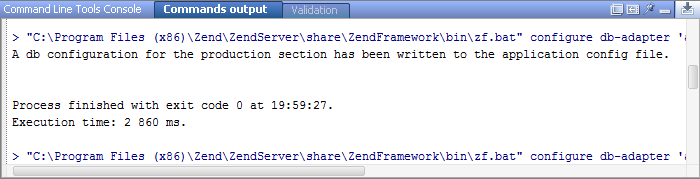
The application needs database, so, let’s configure database adapter with three commands:
-
zf configure db-adapter ‘adapter=PDO_SQLITE&dbname=APPLICATION_PATH “/../data/db/guestbook.db”‘ production
-
zf configure db-adapter ‘adapter=PDO_SQLITE&dbname=APPLICATION_PATH “/../data/db/guestbook-testing.db”‘ testing
-
zf configure db-adapter ‘adapter=PDO_SQLITE&dbname=APPLICATION_PATH “/../data/db/guestbook-dev.db”‘ development
Press Ctrl +Shift+X, copy and paste each command. Check commands output:
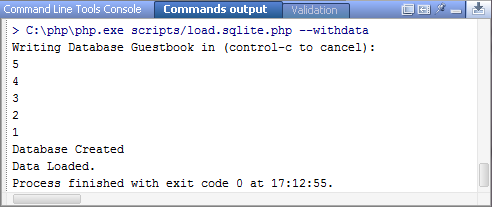
Later, script load.sqlite.php will be created in the tutorial, and you’ll need to execute command
> php scripts/load.sqlite.php –withdata
This also can be done with Command Line Tool Support. Run command:
![]()
$PhpExecutable$ is a macro, it changes to the php configured in the project settings when a command is executed. In our case it changes to “C:phpphp.exe”:
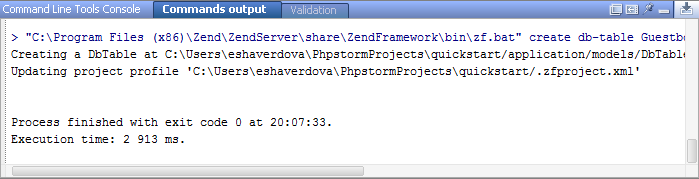
Then db-table is created:
![]()
With result:
Then create two models and controller and edit them in the way you did before. Check “guestbook” controller works:

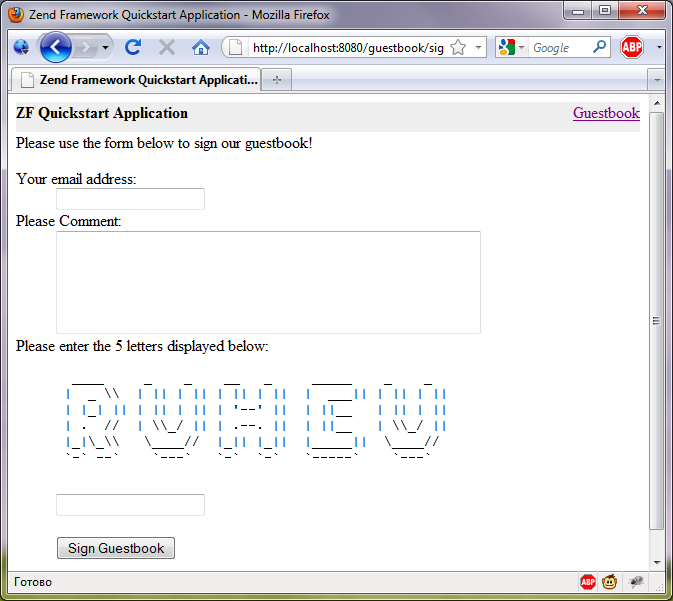
Creating a Form
Now it`s time to create form and action, and then edit them as provided in tutorial:
![]()
![]()
Congratulations, here’s the result:
More about Command Line Tool Support in this tutorial.
